ASG Storm Apocalyse Impact Grenade Review

With my son interested in airsoft, I recently got back into things and have played 2 indoor games so far.  One thing I always love having around are tossable grenades, so handy for getting people in difficult positions.  When I played previously, well before the pandemic I’d run around with 6 Airsoft Innovation Impact Tornado grenades but seeing as how they’re now 12-15 years old, 2 are permanently out of action, leaving me with 4 to split between Brandon and I.  After the first game, another one of my Tornado Impact grenades went down and with Airsoft Innovations out of business, I don’t think I’ll be able to to resurrect the dead units.  That’s alright it’s been a long time and they’ve served me well, I’ll keep the broken grenades as a memento and for spare parts for my remaining grenades.

Looking around I saw that Action Sports Gear (ASG for short) based out of Europe had a few different models.  There’s the slightly older Storm Apocalypse and the D-Tonator series, well my local airsoft store had the older unit in stock so I bought 2.

The retail package comes with the grenade itself & a small brief instruction manual.  Physically, the grenade is 10 x 4.8 x 4.8 cm in size and is slightly smaller than the AI Tornado Impact grenade.

Since the dimensions of the ASG Storm Apocalypse is close to the AI Impact Tornado (minus the pin), it fits in all the same pouches I used back then like the Eagle Smoke grenade pouch.  The ASG grenade has a bit too much girth to fit in the 40mm grenade pouches that I have though it’s possible it could fit in others where the elastic is more stretchy.

Setting up the trigger on the AI Impact Tornado Grenade was not difficult but time consuming if you had a bunch of them like me but resetting the ASG Storm Apocalypse is much easier.  There’s a switch at the top that says ON & OFF.  To load the BBs, set the grenade to the ON position load up 155 in the lone BB port, once that’s done move the selector switch to the OFF position (moving it to OFF pushes a nub down that stops BBs from rolling out which is handy), gas up the grenade and you’re set!  To use when you’re in game, simply flick the selector to ON and toss.

When the ASG Storm Apocalypse grenade goes off, the spread of the BBs is very good, well over 15′ (don’t have the capability to test in a larger area) which is similar to my experiences with the AI Tornado Impact grenade.  I have no way to test the power of the grenade but subjectively when I drop the grenade right in front of me, the BBs ejected hurt slightly less than when I do the same with an AI Tornado on my bare legs & feet.  Sorry, I know that’s not an exact science but the best I have at the moment.

When I played CQB at Urban Ops Airsoft in Toronto, the grenades were very effective and I had no problems with people not calling hits after tossing a grenade into the room.  I’ve never had a grenade disappear but I did mark mine with my made up rack number in case one goes missing.

I haven’t used the ASG Storm Apocalypse in an outdoor setting yet but I did drop the grenade in the grass in my backyard, if the grass is tall it either doesn’t go off or gets bogged down by the softness, when freshly cut or on compacted dirt the grenade works a lot better.

The ASG Storm Apocalypse is a pleasant evolutionary step up from the AI Tornado Impact grenade in usability and a great CQB/indoor tool, if you haven’t tried using grenades yet you should get one as it’ll open up a new avenue of gameplay for you.

Oh I do have ASG D-Tonator impact grenades too but I’ll talk about those in a separate review. 😉

TOUGHSOUL TF9044IR Review (kind of)

I was browsing Amazon for some random stuff and the TOUGHSOUL TF9044IR showed up on my recommended list so I took a look and man, $105 for an IR laser/light combo seemed cheap, I wanted to get some IR devices for my GSG-16, perhaps this would work out.  Thank you Amazon Prime, it got to me in 2 days from Florida and I didn’t have to pay customs. 🙂

The TOUGHSOUL (shortened to TS moving forward TF9044IR came in an non descript box with the brand’s name on it and inside was the unit itself, two CR123a batteries, M-LOK accessories and a small manual.  The TS TF9044IR is made of aluminum, has two buttons (one for the laser & the other for the IR illuminator), on one end is a battery cap and slot for two batteries and on the other were the IR is emitted from.  Overall it’s ~200 grams so it’s pretty light and has a pretty small formfactor.

As you can see next to my Steiner DBAL-A3 civilian LAM (boo, I know) it’s very small and if it’s mounted on the top rail, would not be visible to any optic you may be running.  The aiming laser is IR only so you’ll need night vision to zero the device, but that’s not too difficult as the laser is inline with the mount so the offset should be minimal and easy for people to take into account.  The illuminator is fixed so it can’t be focused and designed to be used at close ranges.

I don’t know how legitimate the IR laser numbers are on the sticker as we’ll see a bit later the laser is significantly more powerful than my DBAL-A3.  The mounting mechanism is M-LOK only and initally I wanted to install it on the left side of the GSG-16 but then it’d interfere with the charging handle and I already have a Surefire M300 on the right side.  At the moment I’ve mounted the TS TF9044IR on the bottom, may move it later but for now this will work.

I’m sorry not the best photos and even though there’s no moon at the moment, it’s still an urban area with a lot of snow cover.  When the weather is better I’ll update or post new photos of the unit in a darker area, I just wanted to get something up.  In the first two photos you can see the power of the IR illuminator, in the second photo specifically the illuminator doesn’t work well beyond the fence though again the environment is not very friendly.

The 3rd photo shows the laser (in the center), the 4th shows the dot difference between the TS TF9044IR and my civilian DBAL-A3, I don’t know if the TF9044IR is eye safe…  5th and 6th pictures show the difference between the TF9044IR and the DBAL with illuminator and with laser/illuminator on.  Note the DBAL A3 is at its widest setting and again the environment sucks for taking photos right now.  Finding a good LAM up here in Canada is difficult but there are a lot of compelling options coming to the market and some are making it up here too. 🙂

I can’t talk about how the TS TF9044IR handles recoil as my AR15s and GSG-16 are currently banned by the federal Liberal government but they should fall soon and hopefully we’ll have sensible gun laws again soon.  That’s a story for another time so the review really is incomplete but when I can shoot again, I’ll definitely talk about my experiences and if the TS TF9044IR could maintain zero.

For $105, even if it sucks I really can’t complain too much but I do have some high hopes so crossing my fingers and will keep this thing mounded on my gun till I can bring it to the range. 🙂

JetBoil SOL, another uniformed review

For over two years now I’ve been my airsoft teammates’ JetBoil cooking systems (god there are probably at least 10 of them on the team) to boil water for the food I carry with me out to games and while they’re all very generous, I’ve always wanted one for myself. I generally don’t like having to rely on others, the system is not super expensive so I figure it was about time I stop leaching and get one for myself. 🙂

In late December, I went down to MEC and picked up a JetBoil SOL (aluminum version) along with 5 100g tanks of fuel. Initially I wanted to just order everything online but the fuel cannot be shipped, that’s why I had to go to the store.

JB_KitJB_Kit-Out

Included in the package is an orange plastic mounting base for the fuel tank, handy when you want more stability, the burner, a pot/pan support bracket that locks into place, a measuring cup, the aluminum cooking container and a sippy lid. Not included is fuel and again since it can’t to be shipped, that’s something you have to pick up in person. The nice thing about the JetBoil SOL (and all JetBoil units) is that all the components pack up either into or onto the aluminum cup including a fuel tank! That makes organization extremely easy, once everything is set just throw it into your pack and you’re ready to go!

JB_Burner_Tank1JB_Burner_Tank2JB_Burner_Tank3JB_Burner_Starter

To set up the JetBoil SOL first extend the legs to the orange plastic stabilizer and install it onto the bottom of the fuel tank (snaps on and off). Once that’s done flip out the fuel valve adjuster and screw the burner onto the tank. Now you have a choice, if you want to use a different/larger cooking pot you can install the pot/pan support bracket if not the burner by default supports the cooking cup with no additional tweaks. Note in the fourth picture my thumb is on the igniter, simply release some gas, press the black button and bam the system should ignite and you should have your cooking flame. If not press the black igniter a few times and you should be good to go.

If you’re having trouble igniting a flame close the fuel valve, look at the starter close and press the black button. Do you see a spark? If you do perhaps your tank is empty if not then perhaps you need a new starter.

JB_Cup_BottomJB_Cup_InstalledJB_Burner_CloseJB_Cup_Measurements

On the bottom of the JetBoil cup you’ll see the “FluxRing” which is suppose to spread heat more evenly along the bottom of the container and “concentrates the heat”. After putting the cup onto the burner, turn it so the cup locks into place. You’ll also notice that inside the cup there are some measurement levels so you know how much water you’re putting into it.

JB_Holding_CupJB_TopJB_Measuring_CupJB_Small_Fuel

The JetBoil SOL aluminum cup is wrapped with a neoprene insulator which JetBoil calls a cargo cozy and at one side is a nylon loop that acts as a handle. Even when the thing is full of boiling water the cozy and handle allow you to handle the cup and with the sippy lid installed you can drink coffee or whatever with out too much worry about spilling. The third picture shows the measuring cup which can also act as a container to eat food if you don’t want to eat out of the aluminum cup though it’s not insulated so it could get hot to hold and don’t let it near the flame or else it’ll melt.

Finally is a picture of the 100g fuel tank, according to JetBoil it’s suppose to be able to boil 10L of water though I can’t verify that value… It does boil water 800ml of water pretty quickly, in around 2 minutes from previous experience with other JetBoil systems. There are two larger fuel tanks that you can purchase, the 230g & 450g tanks however they’re obviously much larger and cannot be packed away into the system and will have to be carried separately. The JetBoil is also compatible with other brand fuel and worked just fine with a 450g North 49 Butane/Propane tank I had laying for another burner but note it is not compatible with Coleman propane tanks!

JB_Kit_Setup

Heh I’ve had the luxury of bumming hot water from friends for the last couple of years but that’s no longer necessary now that I have my own JetBoil SOL cooking system! To be fair I haven’t used this particular unit yet but I am familiar with JetBoil’s products as there are many of them on the team. The JetBoil SOL retails for $119 CDN and the small 100g fuel tanks cost $5, for that price it’s really a no brainer to get for people who are outdoors a lot and want to eat warm food. Mmm I’m already looking forward to the next mil sim in April, that’ll be the first time I actually use my own JetBoil.

I’ll report back about the JetBoil SOL then and post further updates when there are new developments but yeah I’m pretty happy with what I got. 🙂

Solo Stove, an uninformed person’s review

The ice storm in late December really opened my eyes to the holes in my disaster preparedness plans. The family has lots of warm clothing (though only one low temperature sleeping bag…), water, non perishable foods & wood for my fire places but had I lost power there was no real way for me to cook anything! When Henry went to Lebaron, I asked him to pick me up a portable butane/propane burner and a few fuel tanks just in case and just over a week later I also picked up a JetBoil though the latter more for airsoft use.

Anyway both burners require fuel and while I have a decent supply of that, it got me wondering what would I do if even that ran out… Looking online I found the Solo Stove which is a small portable wood gasification burning stove that runs completely on bio fuel, pretty much anything I can scavenge from the environment. If I’m stuck at home and run out of fuel for the other stuff, I have at least a week’s supply of firewood so that could be used with the Solo Stove. Anyway I’m impulsive so I ordered one along with Solo Pot 900 and the Swedish FireSteel fire starter.

There was apparently an issue with the manufacturer’s ordering system and after two weeks with no word, I emailed them. It was quickly resolved and I received my order today. 😀

KitKit2

Everything is made of stainless steel, at least according to Solo Stove though I have absolutely no way to verify that claim.

Solo_StoveSolo_Stove_TopPotMeasuring

The wood sits on a raised grate platform that allows ash to fall through and the holes allow the Solo Stove to draw in air into the burner. I don’t know how wood gasification works but yeah it does that too which is suppose to boost efficiency. On the side of the Solo 900 pot are measurement levels so you know how much fluid is in the container.

Packed1Packed2Packed3

The Solo Stove burner fits perfectly into the Solo Pot 900 but then again they’re made for each other and as you can see I put the fire starter in the stove. From what I read and saw online, other people put kindling (dryer lint & cotton balls soaked in vaseline into seems to be popular) the storage area too. The pot then goes into a small pouch that allows it to be packed neatly away. Note the Solo Stove also comes with a storage pouch if you decide to just get the burner.

I think I paid ~$140 US for everything and lol for the record I’m not nuts. Haha I didn’t buy the Solo Stove because I’m worried about a disaster striking, rather Maggie and I have talked about going camping in 2014 and If we go out for an extended period of time I thought something like this could be more useful than hauling the JetBoil (need to write a review on that too) and many cans of fuel. 😉 I mean there is also the added benefit of being useful in times of need but I’m looking forward to using this thing when I’m relaxing instead. 🙂

That’s all I got for now, when I actually use the stove I’ll update or make a new post on its usability.

Airsoft Innovations Oil Pump Kit Review

Experienced airsofters have been saving money for years thanks to the Airsoft Innovations propane adapter, after all why spend $10 on a small can of green gas (local CDN price) when you can get a 3 pack of Coleman propane for the same price. In an effort to make our lives even easier, the gang at AI has just released Oil Pump Kit. Now instead of dripping silicon oil into the propane tank’s valve, simply inject it into the propane tank itself!

Pump_Kit
InstructionsKit_info

Retailing for $25 CDN (or $35 CDN with an adapter) you get the pump, a bottle lightweight GBB oil, a bottle of medium weight grenade oil & two warning reversible warning tags (one side for GBBs, the other for grenades). The pump itself is made of a brass cylinder with a steel piston and hard plastic (I think it’s plastic) top.

Oil

Using the AI Oil Pump is very simple, let’s stick with oiling propane for GBBs first. Extend the pump fully then submerge the female end of the pump into oil (remember light weight for GBB/Rs, medium weight for Tornado grenades) and press the plunger down. This will push some air bubbles into your oil, keep doing so till there are no more bubbles then extend the pump, filling it with oil.

AttachedPump

Moving to the tank, obviously first make sure your AI Propane adapter is tightly secured onto the tank then insert the male portion of the adapter into the female end of the oil pump. Once you’ve got a good connection, firmly hold the brass cylinder and press down on the nozzle (don’t start pumping yet!) That will open the valve of the propane tank and from there with press down on the plunger with your hand. When you release downward force, the pressure from the tank will push the plunger upwards and you want to repeat this pumping process ~20 times.

Pump_clean

To make things easier, I usually wrap the bottom of the oil pump with some paper towel. When you remove the pump from the adapter, a tiny bit of the trapped gas (which is now oiled) will spray out and this catches it along with cleaning the bottom of the pump.

If you’re like me and have multiple Tornado grenades, you might also find it useful to prep a tank just for grenades. Follow the same process as described above though this time with the medium weight Tornado oil and you’ll need to push four plungers worth of oil into the tank.

Warning

I can’t stress enough, it’s very important to mark the tanks once they’ve oiled so please use the warning tags that AI included with the kit. Using grenade oil in a GBB will gunk up the internals which may cause malfunctions and require you to disassemble your GBB to clean it out thoroughly.

From a shooter’s perspective, the new Airsoft Innovations Oil Pump Kit is a no brainer at $25 and makes maintaining your gas weapons much easier. Now you don’t need to lug silicon oil out to the field anymore or worry about whether you’re oiling your guns or tornadoes enough. Simply prep your tanks beforehand and you’re set!

On a side note, because it has to be said the AI Oil Pump is only intended to put silicon oil into propane tanks. Don’t be stupid and put other substances into other tanks. I’ve had the luxury of playing with a beta design oil pump for the last 6 years and am glad to see AI finally release it to the public.

Repro FAST Goggle Swivel Clip set

Mario liked how I rigged up my mesh lower to attach to my helmet instead of my goggles, agreed that it would be very handy for mil sims and wanted to do the same thing. Despite me warning him not to, he ordered a set of replica FAST goggle swivel clips from Airsoft Depot and got junk. I empathize, he generally runs real stuff like me but ordered the repro clips because he could get it quickly (in time for this weekend’s game) and Ops-core is pretty darn slow still.

Clips1Clips2

The repro FAST goggle swivel clips certainly look the part and I placed my real Ops-Core ARC rail adapter next to the fake one. That’s about as good as it gets though…

Clips3Clips4

In the third picture, you’ll see the back side of the replica and real ARC rail adapter and clearly missing from the replica is a raised plastic key that inserts into the ARC rail’s lock. That’s right there’s absolutely no way to secure the replica adapter to a real Ops-Core ARC rail. With my FAST Base Jump, the replica POS slides around easily and falls out if I tip my helmet 90 degrees… My guess is that a fake helmet has an ever so slightly narrower ARC rail and that the adapter would be held in by friction, otherwise this goggle clip set would be completely useless.

I hate to be so negative but the repro FAST goggle swivel clip set is garbage and I have never had any luck with the stuff I purchased at Airsoft Depot. Perhaps my standards are higher than the average airsofter, I mean I have been playing for 8 years now but every time I buy a replica piece of gear (or in this case Mario) it never works. If you’re looking to buy some parts or gear, do yourself the favor of buying real… Yes it’s more expensive but it retains a much higher resale value and you know it won’t crap out on you when you need it most. Or in this case right out of the packaging for Mario and he agrees with me, no more crap from that place no matter how tempting.

But it’s Maggie’s birthday weekend…

Even though it was Good Friday Maggie went in to work though it didn’t bother me at the wage she’s making. 😉 Anyway the weather was quite nice so in the morning I took Brandon out for a walk. We played in the playground next to the school for a bit and for some reason Brandon was afraid of the tall slide. Maybe he’s afraid of heights, I don’t know but every time he was up there, he’d whimper. We walked around the park later and that was fun though he liked running on the muddy grass so his shoes were a bit of a mess.

I stepped out after he started his afternoon nap, my mother in law is home so I went to Toronto Airsoft to pick up the Iron Airsoft M320 grenade launcher. Yes I know it’s Maggie’s birthday weekend but that doesn’t mean I can’t pick up something for myself right? 😉

M320_1M320_2
Launcherx2

Yes I already have a Madbull AGX but it’s not a complete replica of the real M320 and this one is pretty much bang on. It’s both weapon mountable and a stand alone system and comes with a plastic leaf site that mounts on the side of the launcher. Useless for airsoft but I certainly appreciate the details. 🙂 Hehe mounted the AGX on the M320, awesome eh. Haven’t tried to mount the thing on my guns yet, been busy with Brandon and I probably won’t get to play much tonight as I’m going to bed early so I can take Maggie and her mother to Buffalo. Maggie wanted to go shopping for her birthday so woo we’re going tomorrow. Happy the weather will be nice too, when we get back my family will be coming over to celebrate.

I wonder if there will be cake…

FCC 416 PTW Review

Chris got his hands on a FCC 416 PTW (who then sold it to Eric, bastard but still in the team lol) and put up a review of it on Youtube.

I think he did pretty well for his first review especially since it wasn’t scripted, not too many “umms” or “uhhs” and haha got to love the trigger control. 🙂 Man I can’t wait to check that thing out in real life, I’d love to get a FCC PTW but I already have two Systemas and they’ve served me pretty well… Never say never, who knows what the future will bring right.

It makes sense for us to do more and more reviews, we all like our technology and definitely go through a lot of it… LOL myself included I’ve been lazy and haven’t done any reviews of toys I picked up recently.

What a waste of time…

Sorry I haven’t posted much in the last week, it’s been very busy at work and in my personal life but I did want to post a bit of a rant…

Retail airsoft stores are few and far between in Canada and every now and then for some reason I find myself paying AirsoftDepot.ca a visit. The temptation is higher now too since I moved closer about a 10-15 minute drive from the place and every time I buy something, I’m disappointed… I guess my story starts last week so let’s get to that first.

Maggie and I wanted to go out for lunch and wanting to repair the ARES CQBR I decide to go to AirsoftDepot.ca’s store to pick up the buffer tube I need. While there I saw an Element Manta strobe, the box claimed it could do both red & IR, it wasn’t super expensive so I figure why not. I know it’s not going to be as good as the real thing (and that my boys would make fun of me for buying a replica strobe) but I guess the Chinese in me came out lol.

So when I get home, I pop a Surefire CR123 battery into the thing and unfortunately it doesn’t work. Frustrated, I decided to bring it back for an exchange but there were no more red/IR replica manta strobes available. On a whim, I take a battery cap from another strobe (owner was ok with it) to test and it works so I give the guy the strobe with the broken cap back and he puts it back on the wall… Whatever I don’t know what ended up happening to that strobe, perhaps he just put it there for the time being and sent it back, I’m also not saying that he’s selling broken merchandise knowingly.

Anyway the strobe ends up being a POS (as expected I guess), it doesn’t do IR, the red LEDs just glow at a much lower brightness but it’s noticeable at about 20′ in the dark. I decide I didn’t want it but didn’t want to go back to the store a third time on the same day. At least to be fair the owner of AirsoftDepot.ca does allow you to exchange things if you’re not happy so that part is nice.

Fast forward to the today, I bring the Element Manta strobe back to exchange and pick up a few parts, odds and ends mainly because everything he stocks is generally garbage. I get home and when I put a fore grip I grabbed off the shelf onto one of my guns, it’s broken right out of the packaging! It was the was opened and the last of the colour I wanted but god are you kidding me. Luckily it’s something I can fix but that’s it, I am never buying anything from AirsoftDepot.ca again.

I’ve probably been there a handful of times and have generally never been satisfied with anything I’ve purchased there. Perhaps I’m not being fair, most of the stuff on my guns and my gear is real so comparing repro equipment to real parts is wrong but yeah I am not going the cheap route every again because it always just leads to headache.

The buffer tube for the ARES CQBR works great, it’s kind of hard to screw up a metal tube but in any case, lesson finally learnt! Ain’t buying crap ever again.

KWA H&K HK45 GBB Review

I’ve always liked KSC/KWA’s H&K USP line of pistols, the feel and ergonomics are great however I hate the proprietary HK rail. Finding H&K compatible accessories is an absolute pain and the H&K rail to picatinny converter just looks stupid. When H&K announced the HK45 pistol, I knew it was only a matter of time before KSC/KWA came out with the airsoft version. 🙂

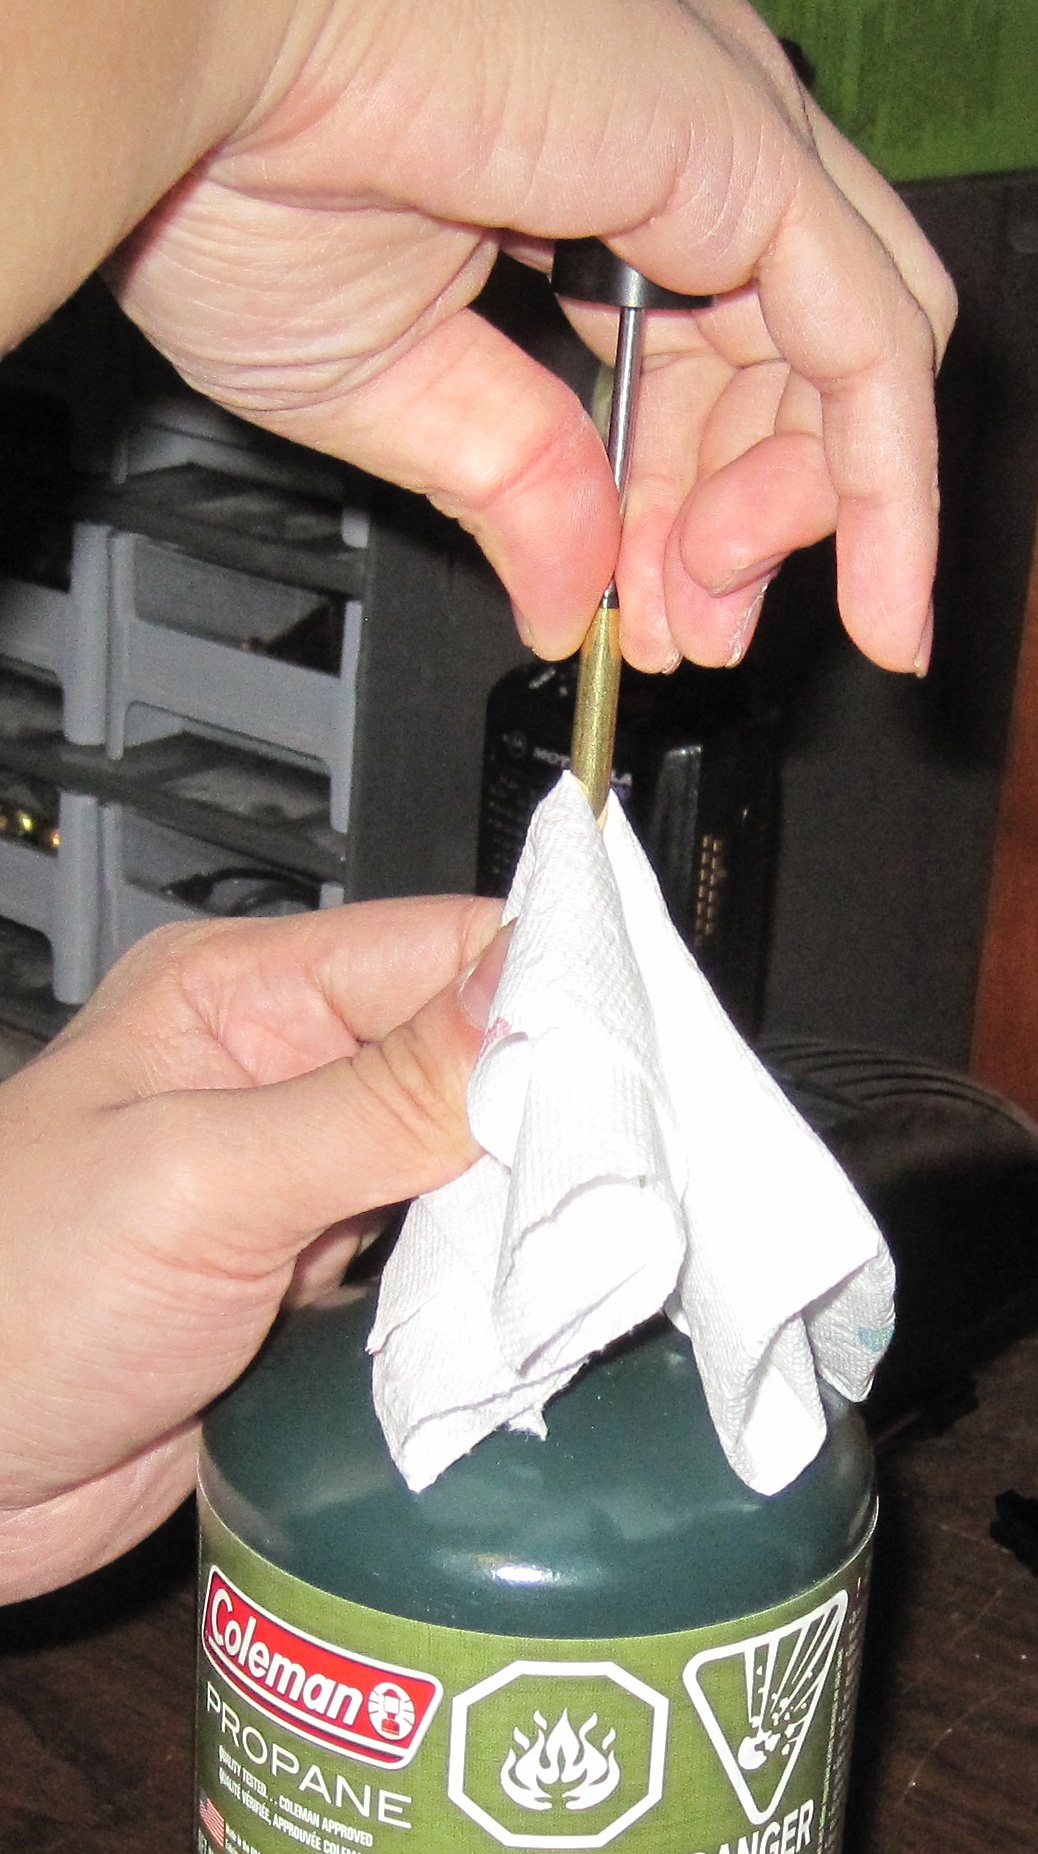
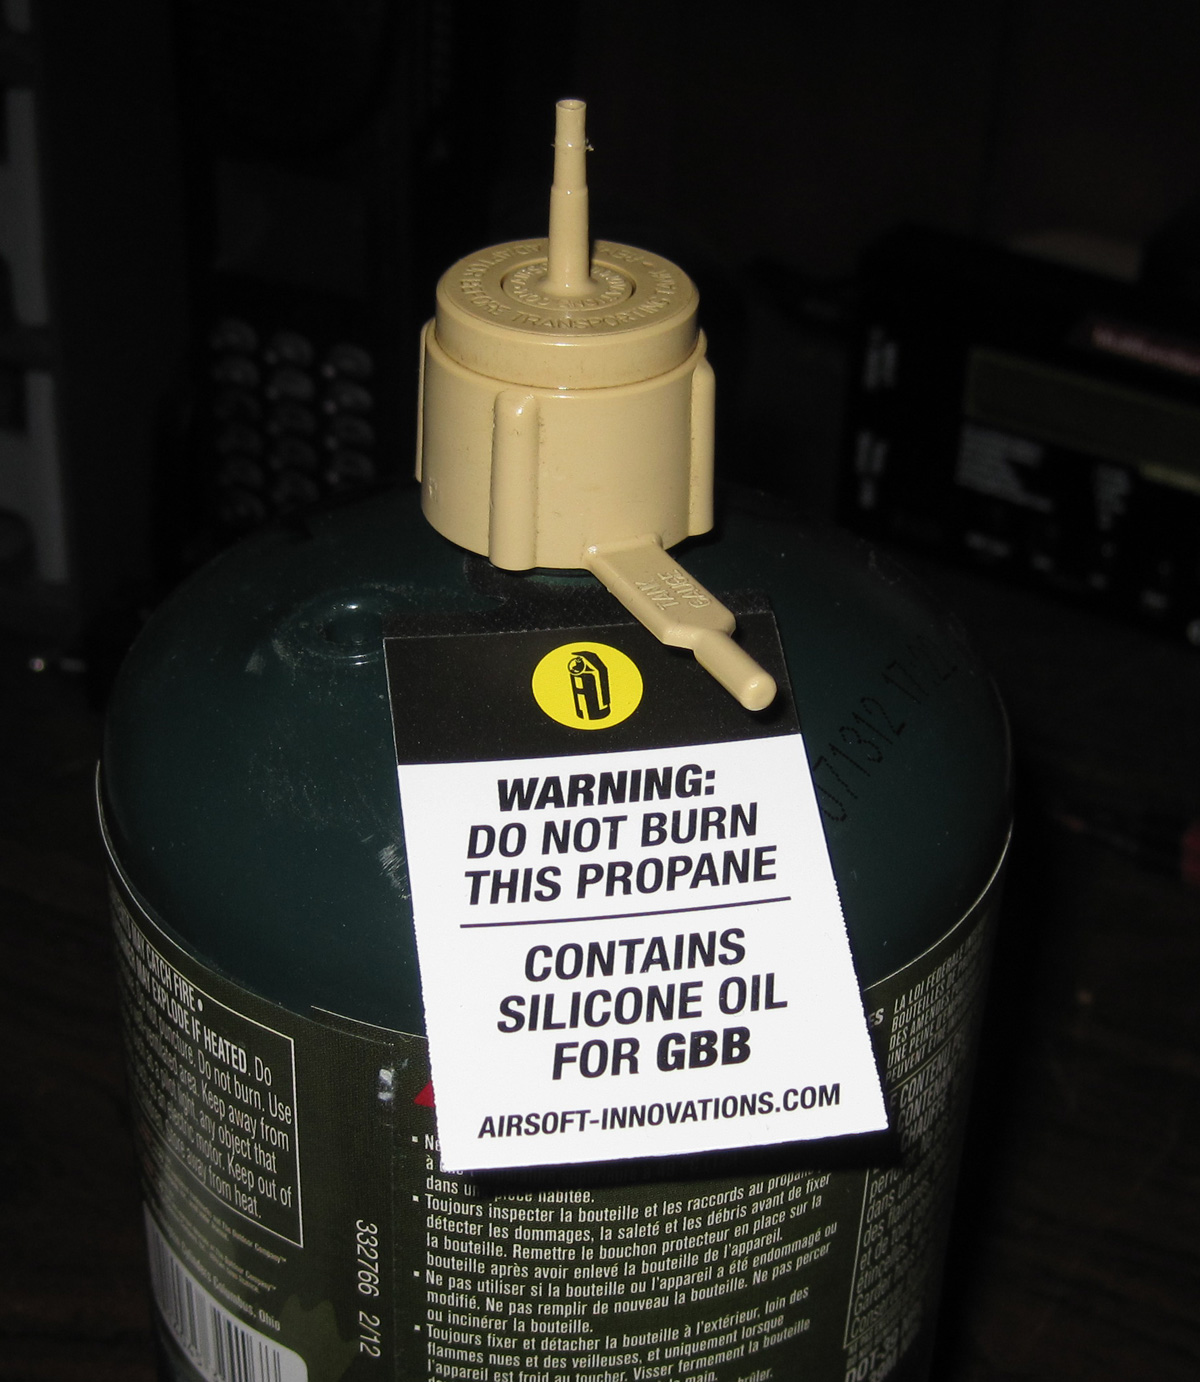
Anyway fast forward to today and woo I am the owner of a new KWA H&K HK45 airsoft pistol. It’s a full sized gun with a polymer lower, metal slide and plastic barrel. The retail kit also comes with the KWA HK45 manual, warranty card, KWA sticker, bottle of silicon oil, bag of 0.2g BBs, lock out key, hop up tool and another grip backstop.

The HK45 uses the same NS2 gas system that powers all of KWA’s current generation pistols & GBBRs, though this gun is not officially a PTP (Professional Training Products) device. That’s ok with me though, I don’t like the ugly PTP markings anyway. 😉 There are the standard Umarex markings and warnings on the right side of the HK45. It doesn’t bother me but I know it would bother the purists. After picking up the pistol, you’ll notice that it has pretty good heft to it at 0.87kg, though about half is due to the magazine.

If you’ve handled a USP or MK23 pistol in the past, you’ll feel right at home with the KWA HK45. For those who are new to the platform, the biggest thing you’ll have to get use to is the magazine release. Unlike the typical button mag releases on the M9, Glock or 1911 platforms, the HK45 uses a lever system. Rock the lever towards the grip of the gun and the mag will slide right out. It’s not as fast as the button release (then again I probably just need more practice) but the big advantage is, you won’t accidentally engage it when the gun is holstered. I know I’ve lost some Glock and Hi Capa mags in the past using cheap holsters (not a problem if you use a platform specific holster like a Safariland).

The KWA HK45 slide locks back after you’ve fired the last round from the magazine, slap a new mag in disengage the slide lock and you’re ready to rock and roll. Both the magazine catch and slide release are ambidextrous which is good news for lefties. On the left side of the gun’s manual safety/decocker but it’s only accessible when the pistol is held in the right hand.

The hammer can be manually cocked into the rear position and reset with the decocker. The KWA HK45 has dot iron sights, line up the three dots and pull the trigger. As mentioned earlier the HK45 comes equipped with a standard 20mm picatinny rail which allows you to bolt pretty much anything you’d want onto the gun. With the USP or MK23s, you need custom accessories compatible with the proprietary rail. I was able to install my Streamlight TLR-1s on the HK45 with no issues. Under the picatinny rail, you’ll see the H&K markings along with faux serial number (I don’t know if they’re unique or the same on across each gun) and the standard H&K warning under the trigger guard.

The pistol grip is grooved for your fingers and the pistol grip is textured to improve grip. There’s an extra base plate that comes with the KWA HK45 and the extra one I have is the same as the one installed on the gun. Not sure why you’d get two of the same but it’s possible my retailer mixed things up. Personally I did find the pistol grip a bit big by default (I have small hands) but it wasn’t too uncomfortable and it’s definitely not as large a MK23 or Desert Eagle pistol grip…

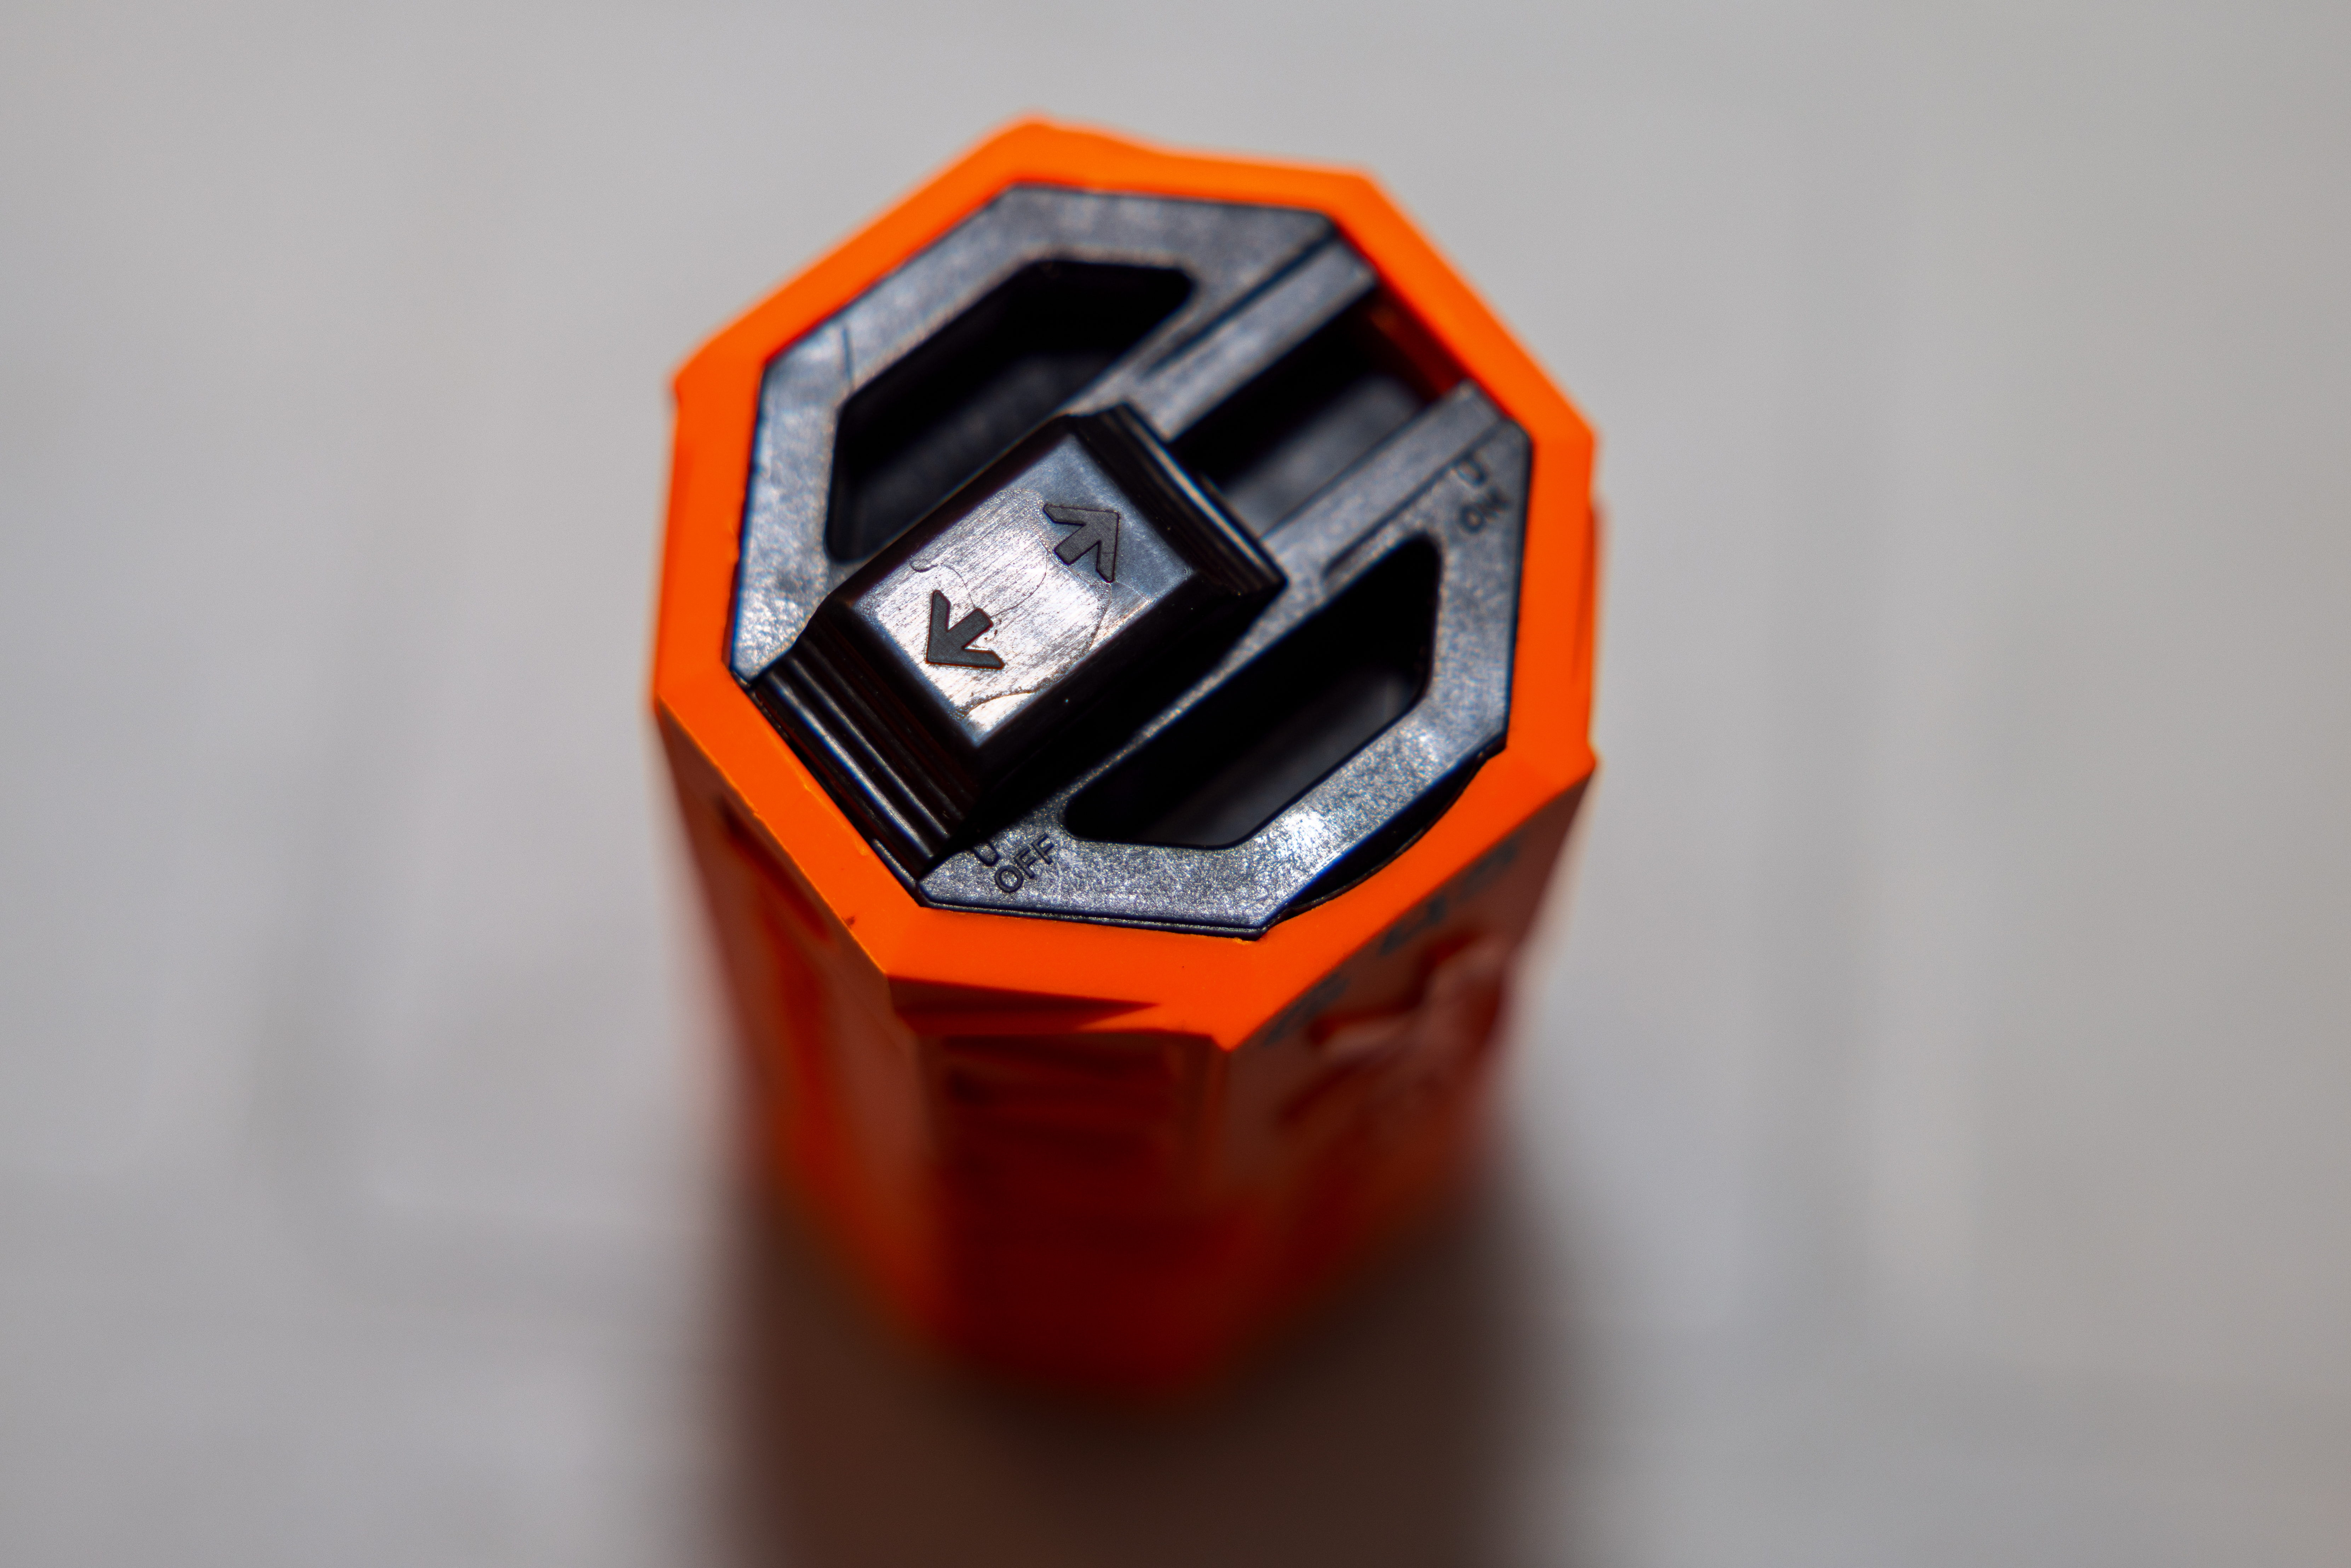
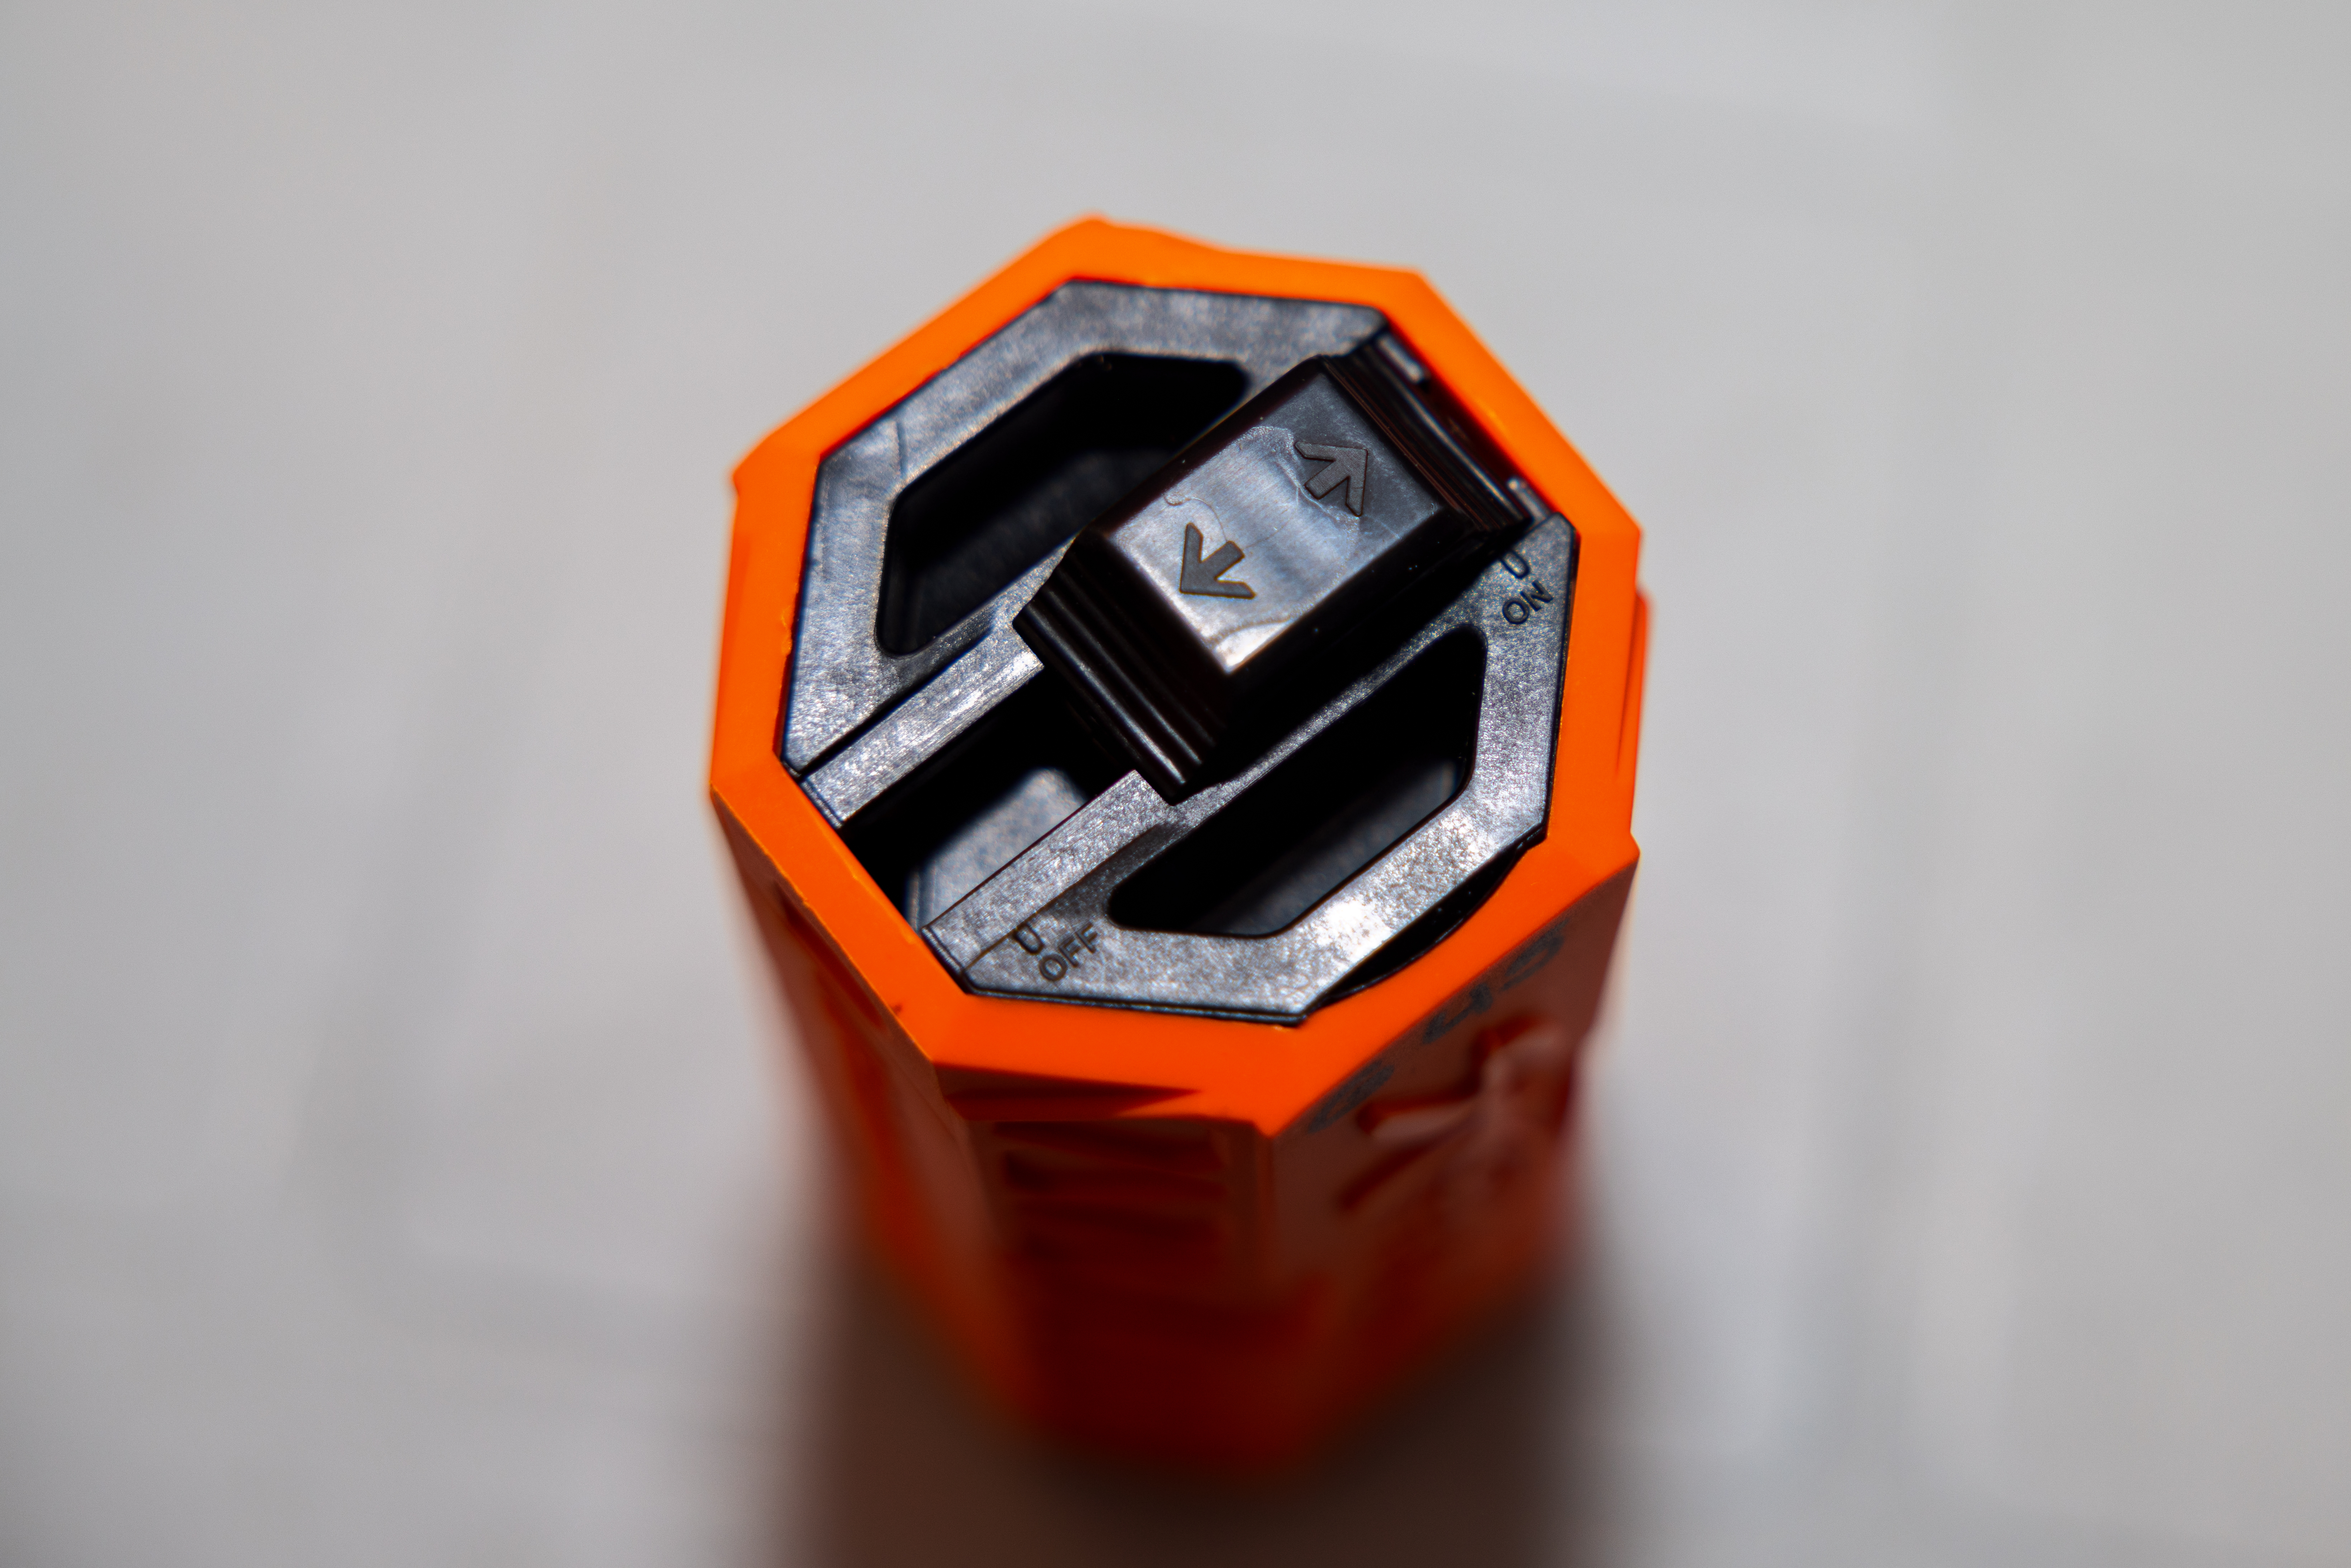
The HK45 mag is well… a magazine. As with all KSC/KWA pistols pull the follower down to the bottom and a button will activate which keeps it locked in place, allowing you to load BBs into the gun easily. Unfortunately the mag lips are reinforced so you won’t be able to use a speed loader’s GBB tool. On the baseplate there’s it says HK45 and there’s a hole for the fill valve. KWA fill valves are silent and do not indicate when full, a good 5-7 second gas charge should be sufficient.

Taking the KWA HK45 apart is identical to its USP line of GBBs and very similar to 1911s. Align the slide’s notch with the slide release and pop it out by pushing on the rod on the right side of the gun. After that’s done pull the slide back then push forward and it should slide right off. Oh before doing the above though, remove the magazine first haha!

With the slide off you can take the outer/inner barrel and recoil spring guide out. Should you need to repair the trigger mechanism, you can take everything apart but for the purposes of this review I’m going to be lazy and leave it as is. I’m also going just show a picture of the blow back mech, I don’t really feel like taking it apart either. Note the KWA HK45 hop up is different from the USP line, new design which hopefully makes the HK45 more consistent than the regular KWA pistol.

To adjust the hop up with the KWA HK45 you’ll need to keep the hop up adjusting tool handy (it’s the same for all KSC/KWA pistols), counter clockwise is turning hop up, clockwise is turning hop down. With the HK45 I found that when the slide was in the locked position, the hop up unit was too far for me to adjust with the tool. Rather it was easiest to adjust the hop up with the slide 3/4 way back.

Silencers are cool for pictures but I don’t use them on the field so I removed the orange threaded tip from the black plastic outer barrel. Took all about 5 seconds with the pliers, after I just shaved off some of the orange bits of plastic left on the black outer barrel and gave it a quick once over with a sharpie so everything looks nice and clean.

Now to the fun stuff

Thought I’d never get through posting details about the gun but woo let’s get to the shooting! Like all NS2 KWA pistols, the blowback on the HK45 is excellent. Very crisp and quick, the gun feels great to shoot and it’s pretty darn loud! With 0.2g BBs the HK45 chronies in at 345 fps according to my Madbull chrony (I don’t trust this thing much frankly but I don’t have my old Guarder anymore) at around 24C. With 0.3g BBs the Madbull chrony is reading 340 fps or the same energy as 414 fps with 0.2g BBs! Remember GBB/Rs are variable energy weapons so play fair and adhere to the energy rules when you go to games. I’ll be buying another chrony soon and will retest the HK45 though to be fair fps readings I get are consistent with what I’ve seen other HK45s online and is similar to my old KWA M9 PTP (god can’t believe that review is almost 5 years old already).

The magazine holds 29 rounds and with a full gas charge I can get about 2 1/2 mags worth of BBs through the gun, that’s pretty efficient!

Oh I did notice one thing, buying HK45 specific holsters is quite difficult! There are not many on the market and I absolutely hate using generic or universal holsters. I read that USP holsters should work but haven’t been able to confirm it yet, I may just take the plunge and pick up a used Safariland 6004 USP holster anyway as they’re not too expensive on eBay. Probably won’t use it much as my secondary (the team runs TM 1911s there) but when I do use it, I’d like to use a good holster.


TM 1911 MEU, KWA HK45, TM Glock 18C

That’s it I guess, I will post updates when there are some. If you’re a Canadian you can order this gun from Revolution Airsoft for $195. I didn’t buy my gun through them but it’s a pretty good price none the less.